Wednesday 29 February 2012

My first friendly plastic project!!

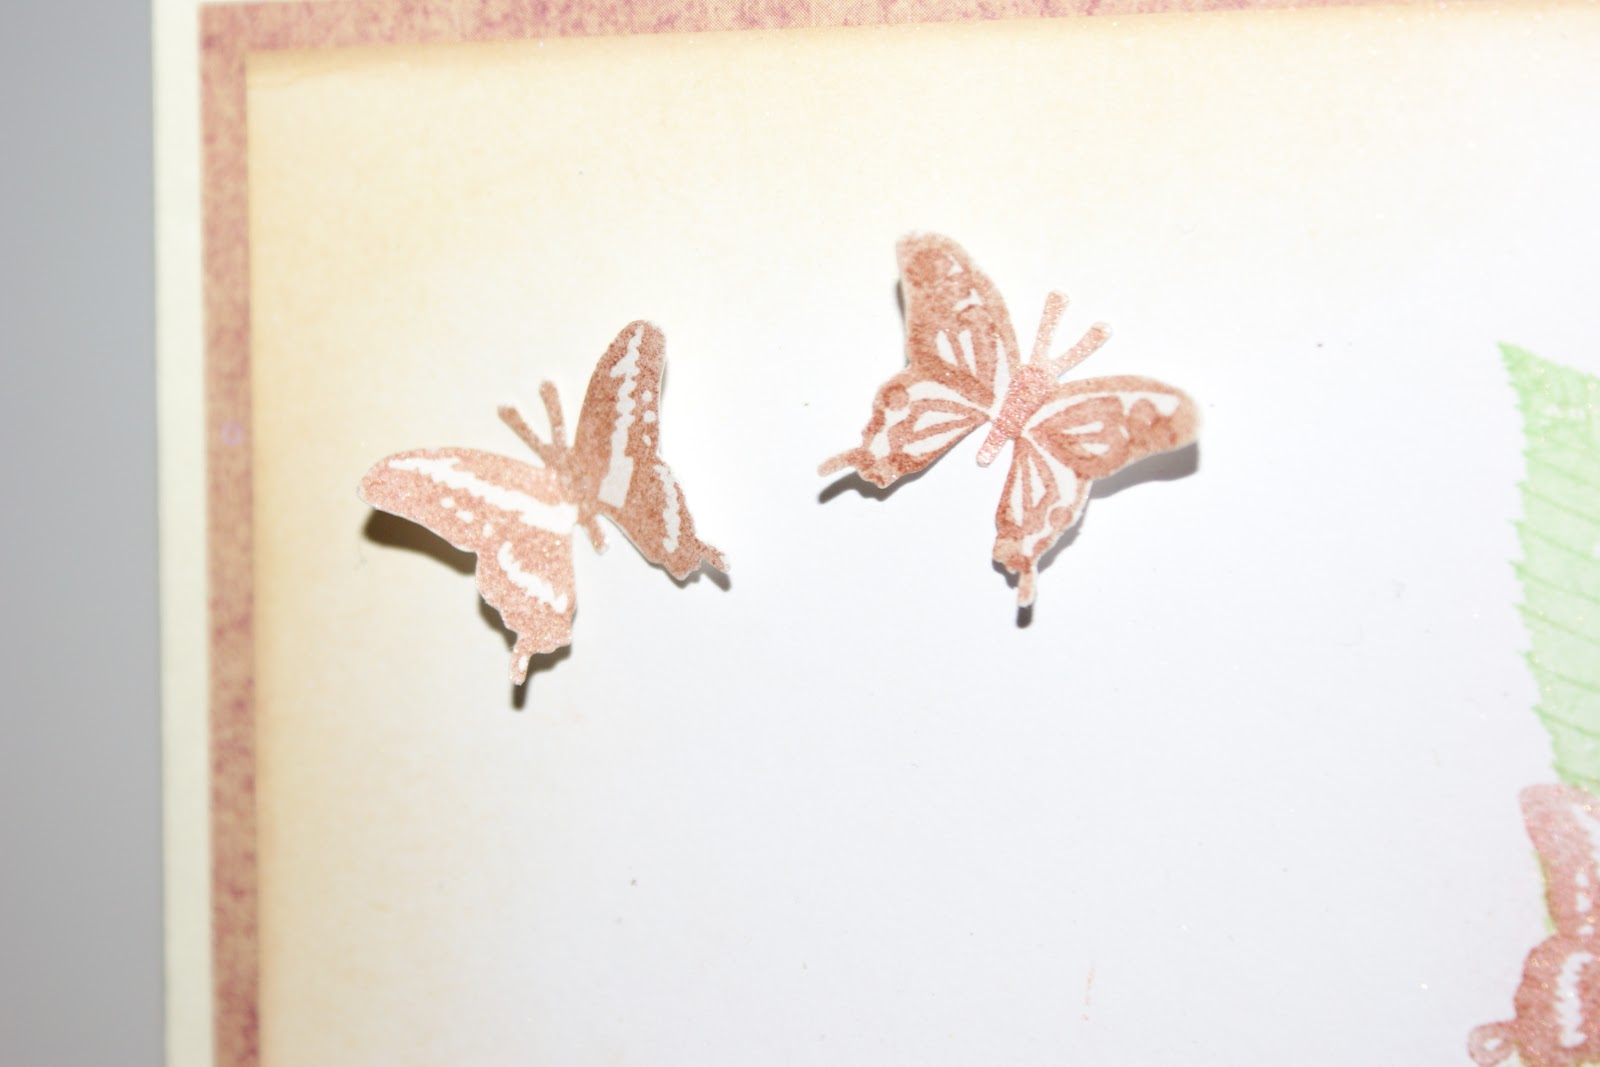
So I have been meaning to buy some friendly plastic for ages after seeing it demonstrated on Create and Craft, and then at the NEC Hobbycraft event in November I finally decided to take the plunge. I know that its perfect for card making, and I do intend to make some card embellishments, but I wanted my first project to be more lasting.
 It was my Aunts birthday yesterday, and so I set about making her a brooch to wear. She has similar colouring to me (fair skin, red hair) and just like me wears lots of blues and greens, so those were the colours I choose. I stuck to a simple chequer pattern which you make by cutting small strips of your chosen colours, fusing together with heat, then when cool cutting through your new stripy pattern and create stripy strips which can make a chequer.
Here are all the things I used, 5 colours of complimenting friendly plastic, some Ranger Glossy Accents and a brooch frame which I picked up from a local bead shop.

Here's a close up of the chequer piece when fused. I made it just big enough so I could cut out the oval shape (it cuts really easily with scissors). I used glossy accents to stick it into the frame, then making sure it was completely flat on the table I flooded the design with glossy accents to seal it all in.
Here is the brooch with the flash off so you can see the colours, but its a little blurry! 


Here is the brooch in a jewellery box ready for wrapping.

And finally wrapped with some East India trading silver frayed ribbon and with a small label.

I was really, really pleased with how it looked, and my Aunt really liked it. I have also ordered some other lovely Jewellery backings and things from Rare Bird so I'm definitely going to be making some more soon!!

Tuesday 28 February 2012

50th Birthday - WMSC #86

WMS Sketches_MS font_separate
Here is my take on this weeks waltzingmouse sketch challenge.

To make the roses I used some goldy thick paper which was only coloured on one side, so when I'd started the basic rose making (which you can read about here) I folded the spiral piece in half so that it would look coloured on both sides.
The main element is made from Spellbinders Labels 4 die cuts, the white one embossed with cuttlebug divine swirls and then sponged with antique linen distress ink. The leaves are cut with my Papertrey Leaf print dies. The centre of the flowers looked a little empty, so I put some tiny gems in. The background burgundy paper is  wallpaper from a discontinued pattern book.

My sentiment is made mostly from little parts of Teeny Trees!
The leaf stamp finishes it off at each end, and the sentiment is patched together from
'happy thanksgiving'
Letraset rub on numbers
'thank you'
'Birthday Wishes'

This is one way to make your stamps even better value! I'm always looking for ways to use them differently!

Friday 17 February 2012

Waltzingmouse blog party - Spring

Blog-Party-Logo 70%25


Welcome to this months waltz, and the theme is Spring.

 I couldn't resist some butterflies and leaves, both of which were Christmas presents. The leaf prints stamps are from Papertrey, and the butterfly stamps are from a Martha Stewart stamp and punch set. I started off by punching some butterflies from post it notes to act as a mask, then I added the leaves, laying and masking as I went along. I added the butterflies using versamark and mica powders to give it a little shine and then did some separate butterflies on some white card to punch and use for a bit of dimension.
 I sponged all around the edge with some tea dye distress ink and then made myself a little banner with the beautiful Waltzingmouse font, the stamps are from the teeny trees set.

There isn't actually a sentiment that says happy birthday, but I masked off both the 'happy thanksgiving' and 'Birthday wishes' stamps to get the sentiment I wanted. I sponged the banner and curled it around my scissors for some more dimension. Finally I layered everything onto some burnt orange cardstock and then onto a 6" cream square card base.
I hope you like it, and enjoy my Spring inspired card!
This card is also being entered into the Prickley Pear Rubber stamp sketch challenge.

Sunday 12 February 2012

Non traditional Valentines

For our charity fundraising at School to raise money for The Lymphoma Association I came up with a few card designs for the kids to have a go at making. I'll be honest, it wasn't a pleasant experience making the cards with the kids (age 11), I'm somewhat of a perfectionist, and watching people sticking things on wonky, and stamping and getting the edges of the stamp on the paper was more than I could usually handle, but I smiled and kept my mouth shut, as I wanted the kids to have a real input into what we were making and not just do it all myself. They had such fun doing it, and suggested we do this everyday after school! I did have to finish off quite a lot of cards myself, as I over estimated how many they could make in the amount of time we had, but all the pieces were already cut and ready just to be put together. My favourite card is probably the easiest, as I used a digital stamp freebie from Paper Smooches website. The sentiment that goes with it was Bee Happy, but I wanted my card to say Bee Mine, so I just used my Digital Scrapbook artist and added the sentiment I wanted! I printed off 8 per A4 sheet, cut on my guillotine and then they just needed colouring. I didn't even matt and layer this, I just used my Promarkers around the edge to give a border and attached this to a blank card base! I love the simplicity of this, and its being entered into the Crafty JC challenge which is a non traditional coloured valentines!

Negative die cuts TSG 142

How often do we get stuck in a rut with our crafting, and fall back on old favourite sketches and styles?! For me its quite alot, and so having challenges is really refreshing and also seeing other peoples creativity helps too!
This week at There She Goes Clear Stamps the challenge was to use a negative die cut, and so I had a go!
I used my nestabilities for both die cuts, Labels 1 for the main negative, and labels 4 for the small die cut above the ribbon. The embossing is a cuttlebug folder, Script, and the background is actually some wallpaper I got from my dads shop. I made the embellishment to match the wallpaper by stamping in versamarkmy sentiment and leaves (from my new Papertrey Leaf Prints set, which I'm so excited to have, with the matching dies!) I then sprinked some Cosmic Shimmer Mica powders in greens and bronzes onto the label and there you go! A little ribbon and we're done!
I'm definitely going to try and use negatives more often, and putting some lovely backing paper behind, as I have so much lovely paper that I rarely use! Thanks for the inspiration TSG!

Thursday 9 February 2012

Vintage Map Birthday Card

Here is another card I really enjoyed making. Again, its nothing to do with a challenge (although to be brutally honest I've been keeping my eye out for one that it would qualify for because I'm so pleased with it and want as many people to see it as possible!!!oh my, does that make me seem really big headed?!!)

Anyway, I have a colleague who is turning 40 soon and she is absolutely travel mad. Every school holiday she seems to be off to some far flung part of the world staying in a hostel somewhere or other, so what better card could I make her than travel related. Last Christmas I managed to pick up some beautiful wrapping paper sheets in the John Lewis sale that had been slightly damaged, and were only £1 each, including one which was a vintage map of the world. That was my starting point, along with my beautiful new Postmarks stamps from Papertrey Ink. They're so versatile, and I have a few new baby cards to make which I'm sure will look lovely with date stamps.
card


It was the first time I'd used the stamps, so I was keen to use as many as possible!
I decided to try and combine a luggage label with the post theme, and incorporated her birthday and age onto the card.

I liked the vintage theme, and sponged the edges of the label with some tea dye distress ink, and how could I resist the bee on the stamp (which I have as a matching Papertrey die!)!
I hope you like my vintage map theme (and just in case you're wondering, I chose the Asian part of the map as this was were she went on her last jaunt!) thanks for all your lovely comments.

Sunday 5 February 2012

Valentines cooking

Have you ever had one of those eureka moments when you do something, and its just amazing, you're almost shocked you've actually managed to do it yourself, combined with the fact that you're amazed how straight forward it is? Well today I had not one, but TWO of these! Both relating to baking these rose cupcakes.

The first is SUPER smooth buttercream icing. I have for quite some time been following the buttercream/frosting recipe which the Hummingbird Bakery use ( 150g butter, 450g icing sugar, 50ml milk and 1 tsp vanilla extract). I have also followed their instructions too, which is to mix on high for 2 minutes, which with a hand whisk makes your arm ache, but it always produced lovely buttercream. Then I saw a friends photo of her buttercream on facebook and it was SO much smoother than mine. How did she do it? Well I asked the question and when she said 5 minutes I thought, my arms can't take it! But in the name of smooth icing I gave it a try, and 5 painful minutes later I had the most AMAZING icing! Who knew just an extra 3 minutes mixing would make such a big difference. The second eureka moment was piping the roses. I had tried to pipe them using my usual piping nozzle, but they didn't look great, so I googled and youtubed it (well in this technological world you can find literally anything you want to online, and I did!) and I found I would be better using a Wilton 2D nozzle, which I promptly went out and bought. I think the buttercream being so smooth made a huge difference, but piping was a dream.

I'm amazed at how much like a rose they look, they are so pretty, and will be being sold next week for Valentines day in aid of the Lymphoma Association charity along with other cakes and cookies being made by my class at school.
These are just samples for our posters to promote the sale.
 
Here are some almond cookies I made and iced using the flooding technique I learned the other day over here. They could be a little neater, but for a first attempt I think they're ok! Still need to practice my icing writing technique!!! Hope you like and are inspired to try and make some supersmooth rose cupcakes!!!

Teaching my little man to craft

So my Honey is away for the weekend and that means I have a little bit more freedom to leave the dining room table covered in craft stuff, and also to do whatever I want with monkey!
On Friday I had left lots of valentines craft stuff on the table, and monkey was pointing and saying he wanted a go. So I figured why not?! And passed him some ink and some stamps and some scrap paper. He had a whale of a time stamping, and I even got out some small stamps and he chose which ones he wanted, and then stamped them (dog, cow, sun and pirates!). He then spotted a flower punch and insisted on having a go on that too. He needed a little help to get it to punch fully, but he was able to do it!


So pleased to be able to teach him my favourite craft!

Birthday card Fairy


Here is a card I made for a friend who is turning 30. Its a standing joke that I call her Fairy, because she came to my 18th birthday dressed as a fairy! So I've made this card especially for her. The background is hard to see on the photos, but I stamped the fairy image in Versamark and then used some Enchanted Lilac Cosmic shimmer.
I stamped the fairy onto a small piece of white card using Memento and coloured with Promarkers. I then blinged her up a bit using a Quickie glue pen and some fine silver glitter. I cut it out in a tag shape and layered up onto another handcut tag shape.

I used my new cuttlebug alphabet and number dies to cut out the 30 from the same paper as the background and layered onto a small circle stamped with a Kirsty Wiseman sentiment. 

 The card is finished off with some ribbon and layered up.

x

Thursday 2 February 2012

Baby girl special delivery card

It seems there is a never ending succession of births at our church, since I became pregnant with Monkey in November 2008 there has always been someone pregnant, and we're now up to 12 babies/toddlers, with 3 more babies on the way! So here is another baby card I have made recently, and made good use of my new Papertrey Ink Postmarks set to do the small circular sentiment which is on the ribbon. I love that you can include the date! The background is stamped using my Waltzingmouse Offbeat background polka dots, and the main image is a Spellbinders labels 4 which has been cut, then embossed with a polka dot mika mask and then sponged. The chipboard letters were from Quality Save ages ago, and I've no idea what make they are. This is much pinker than my other baby cards, but I had run out of A's in my pale pink chipboard letters!
Hope you like!
Bee x